Arkham Horror LCG Session Report: For the Greater Good (The Circle Undone Part 5)

By Chris Renshaw
Disclaimer: If you haven't heard about Arkham Horror: The Card Game, you might have trouble with this post. Also, potential spoilers ahead.
Last Time...
It’s time to talk about the Arkham scenario that has given our group more trouble than any other session. Last time, we stumbled onto some ghosts that were going hectic...err I mean heretic in a creepy old place named Hangman’s Hill. We managed to stop all but one heretic from rampaging over the rest of Arkham. Now, we turn back to the Silver Twilight Lodge. They are up to something again, as they are back at their lodge having some sort of ceremony. As we are not members of the lodge, we are going to have to break in and find out what’s going on.
And then do it again.
And then one more time.
Yep, we attempted this scenario a total of 3 times before we managed to get to a resolution that we were happy with (“happy”, as this is Arkham Horror after all).
Just as a reminder of what investigators we are playing as again:
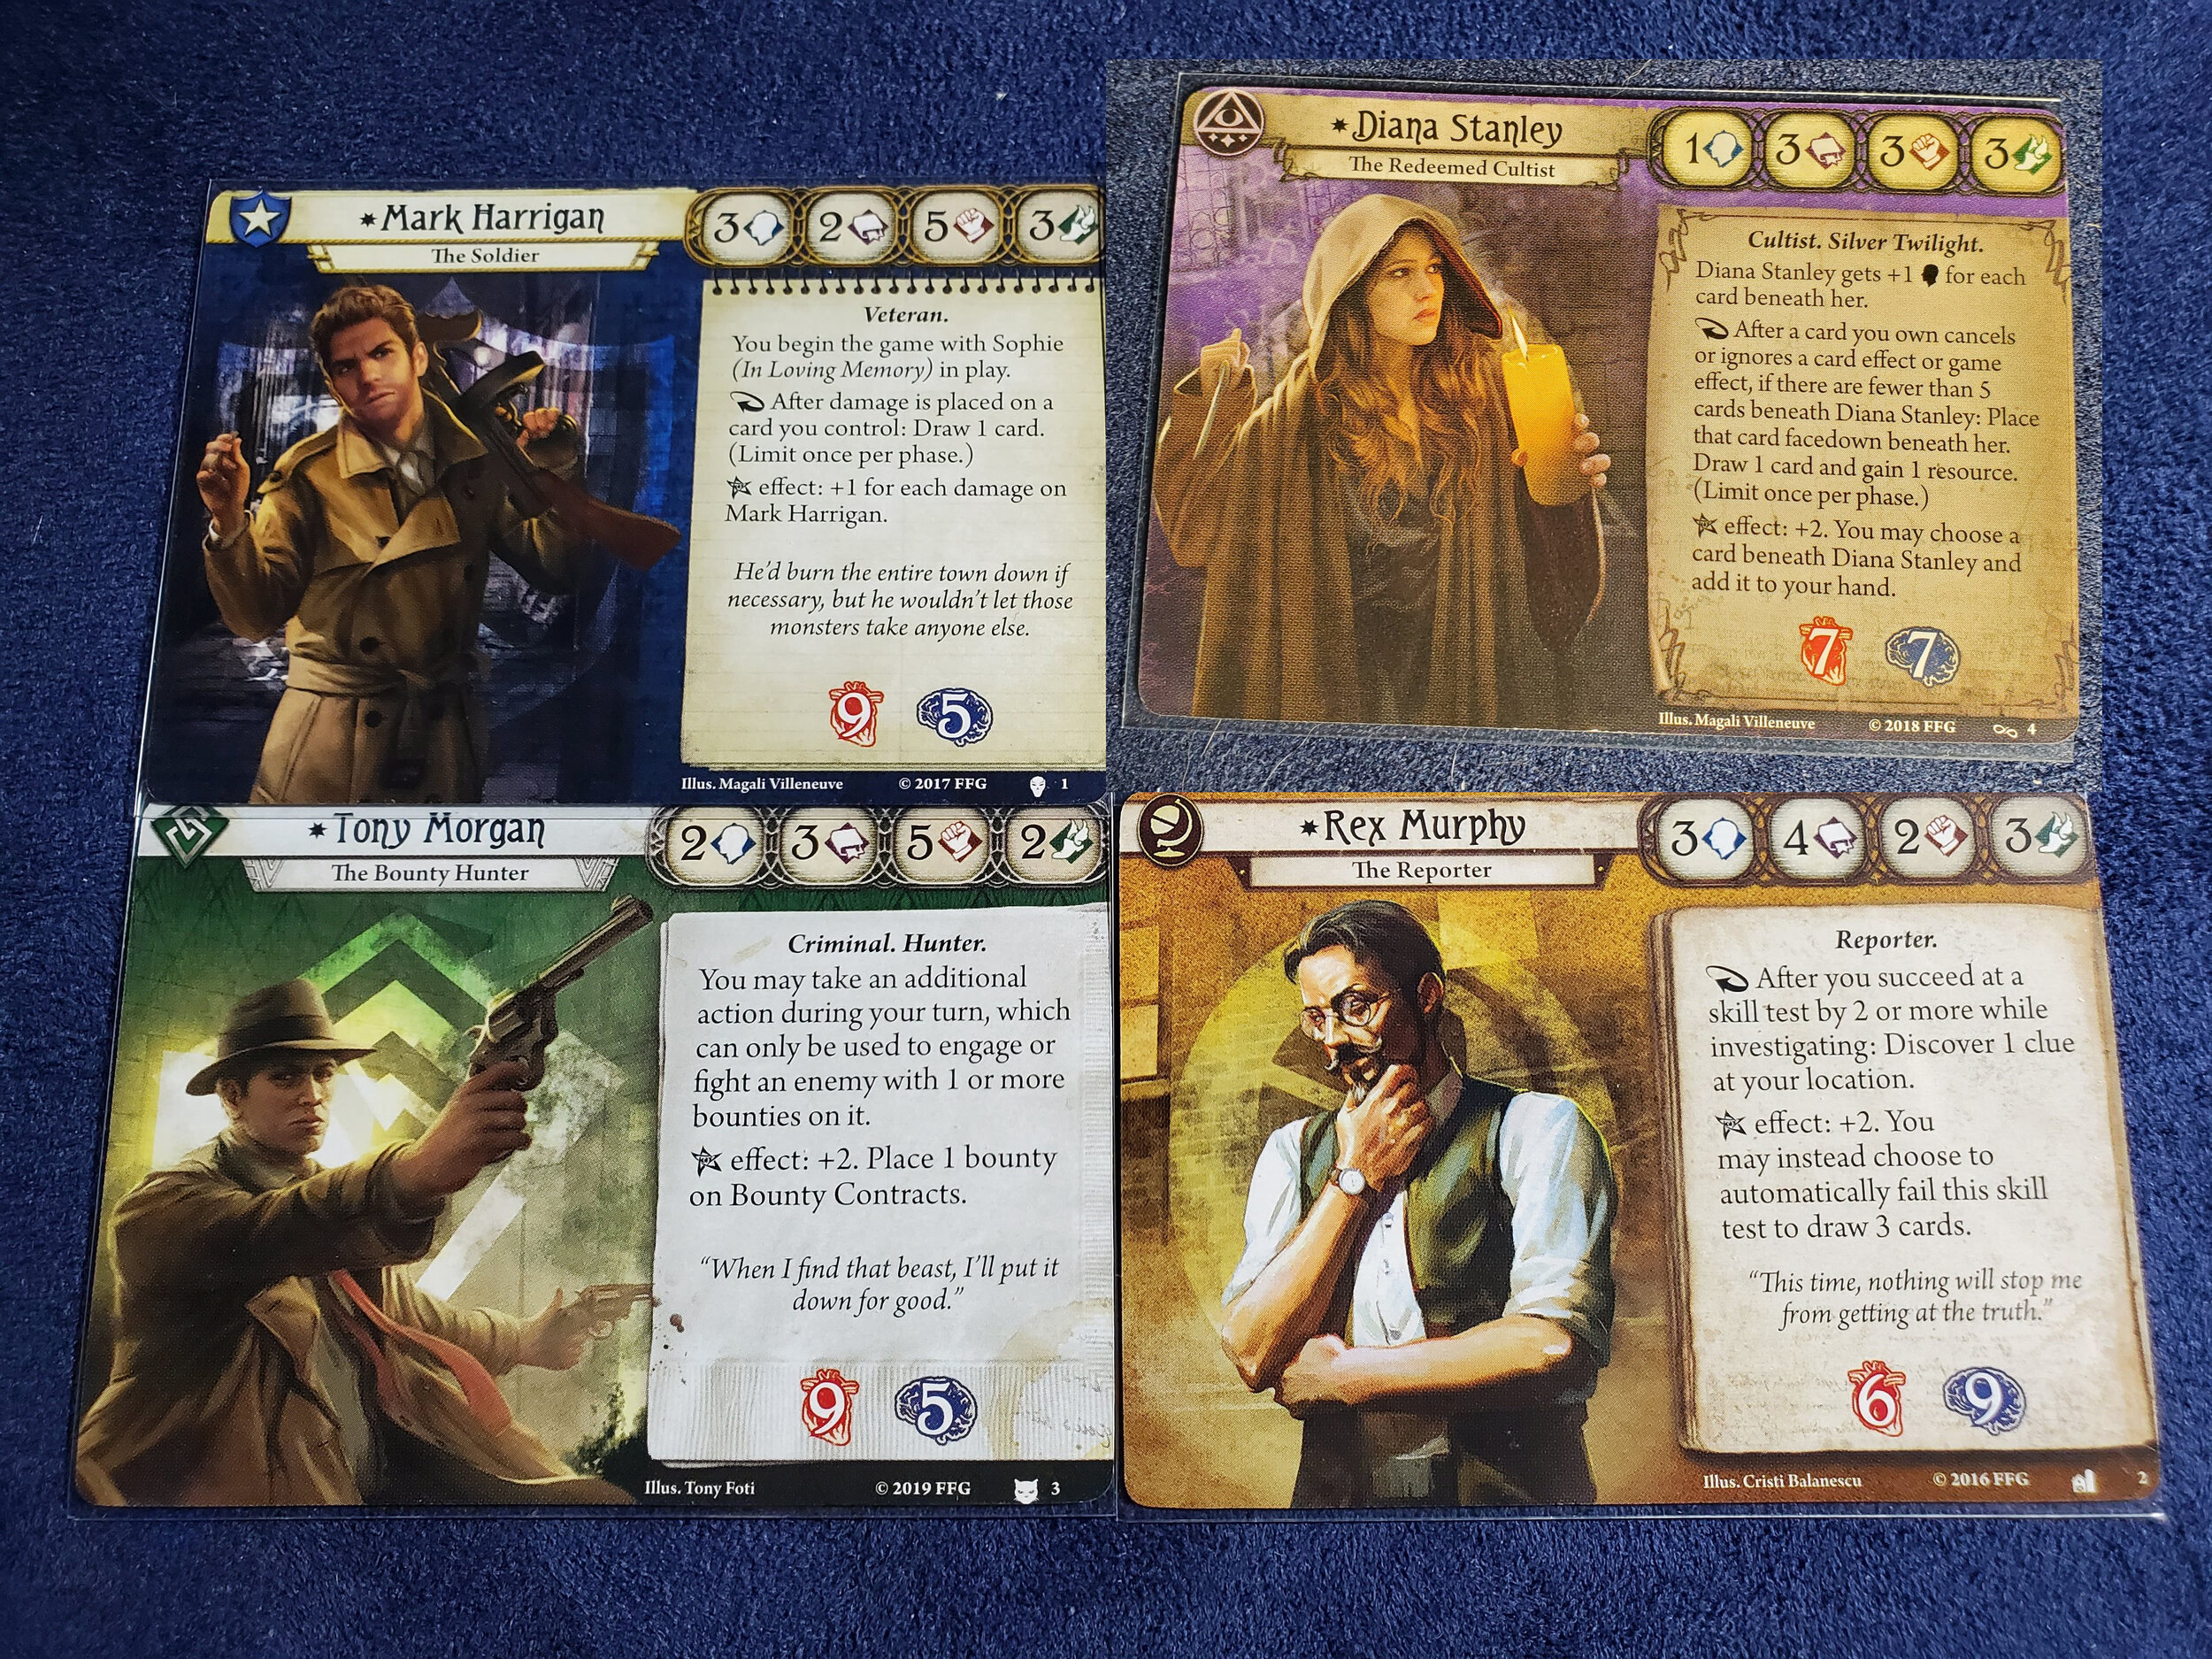
Myself: Diana Stanley
Cory: Rex Murphy
Jimmy: Mark Harrigan
Mike: Tony Morgan
First things First
Wait what? Diana Stanley? What happened to Calvin? Since we first started playing The Circle Undone, we realized that we made an error not having a mystic along for this campaign. Especially when it came to those nasty Wraiths. Well, after trying the scenario twice with Calvin, I decided for our third attempt I would break out a mystic and see if that changed matters. More on that later.
We hold these truths to be creepy...

For the first time in a while, we aren’t as worried about the Agenda, aside from it being the ticking clock towards our demise. Sure, having extra doom go on the scenario is a bad thing, but there are enough ways to mitigate that in this scenario. First of all, the Act card allows you to discard doom off of an enemy if you evade it first. So we could have someone evade an enemy and then have another person kill it.

What’s the point of this scenario? There are four “keys”, represented by tokens, that will spawn throughout the Silver Twilight Lodge. We need to investigate the lodge and find all of these “keys”. Only then can we access the “deeper” parts of the lodge and find out what strange, but probably evil things are being planned.
The Clue is with the guy in the lobby, with a candlestick

Right off the bat, let me say that I hate the way this scenario is laid out. It is basically a pyramid shape, with the Lodge Gates at the top and two paths to work down. One path is the “normal” part of the Lodge, such as the Lobby, Library, etc. The other side is the more “secretive” parts of the Lodge. The Lodge Gates, where you start, has no clues on it (for our play-If you were in the lodge I think it does), yet you need to go downwards and find at least 4 clues (for our group) and then travel *back* all the way to the gates to unlock the Lodge Cellar. This movement around the “map” was a constant source of frustration for our group.
Speaking of clues and things I hate:
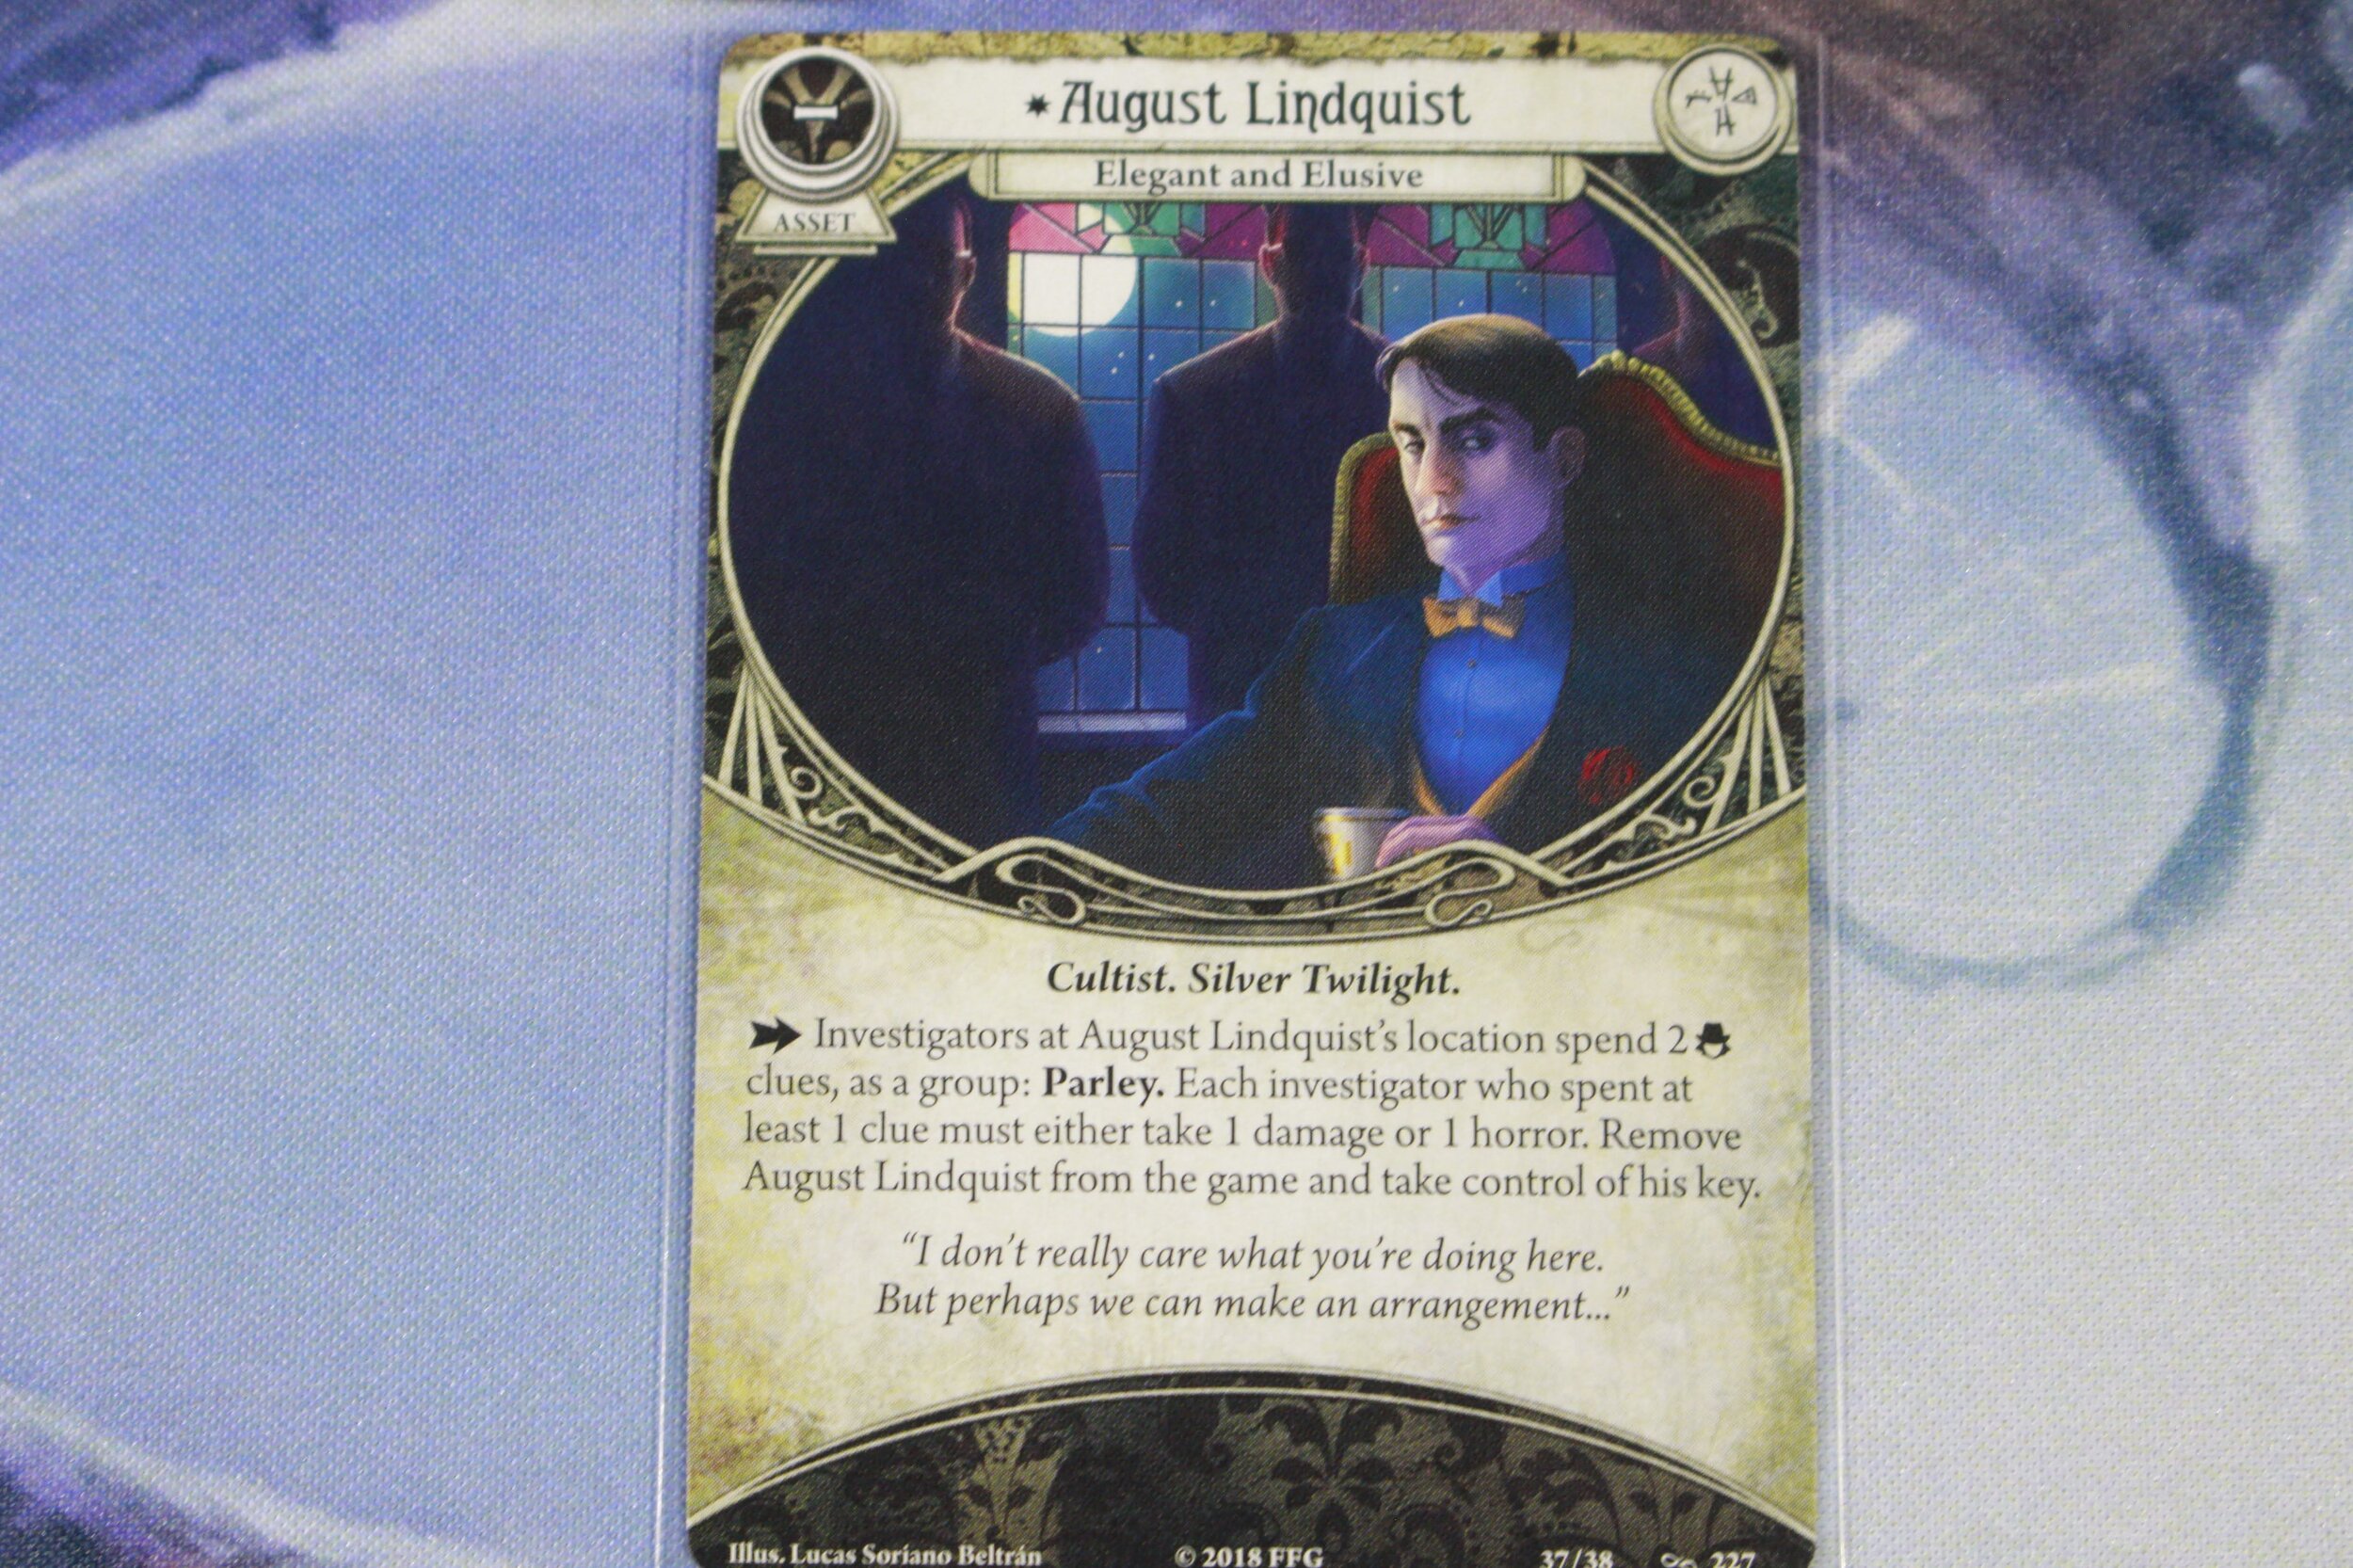
This guy is ridiculous. For our 4 player group, not only do we need 4 clues to unlock the gates, we need 8 clues to advance to the next Act card, and 8 clues to get a random key from this guy. For our second playthrough, the key he had was the one we needed for the final room, so there was a lot of bouncing back and forth around the map, losing a lot of time as it took people multiple turns to get from where the clues were to back to this guy to get his key. Only then to go *back* towards the other side of the map to enter the final room.
This is what caused us to lose on our second attempt. We lost so much time traveling around the map that both agendas advanced and things got even more ridiculous. It was at this point that we decided that we’d give the scenario one more try before moving on.
It feels like the first time
“Wait, you skipped the first attempt?” You might be saying. Well, the first time went pretty similar to the first. Even though we learned a lot from the first try, the key placement worked badly against us. Plus, I was super distracted in that first attempt, as I pulled the Auto-fail token FOUR TIMES IN A ROW. It was most definitely not my day when it came to luck, even in terms of Arkham Horror. We finally gave up on the first try during one of the encounter phases when I drew this card:
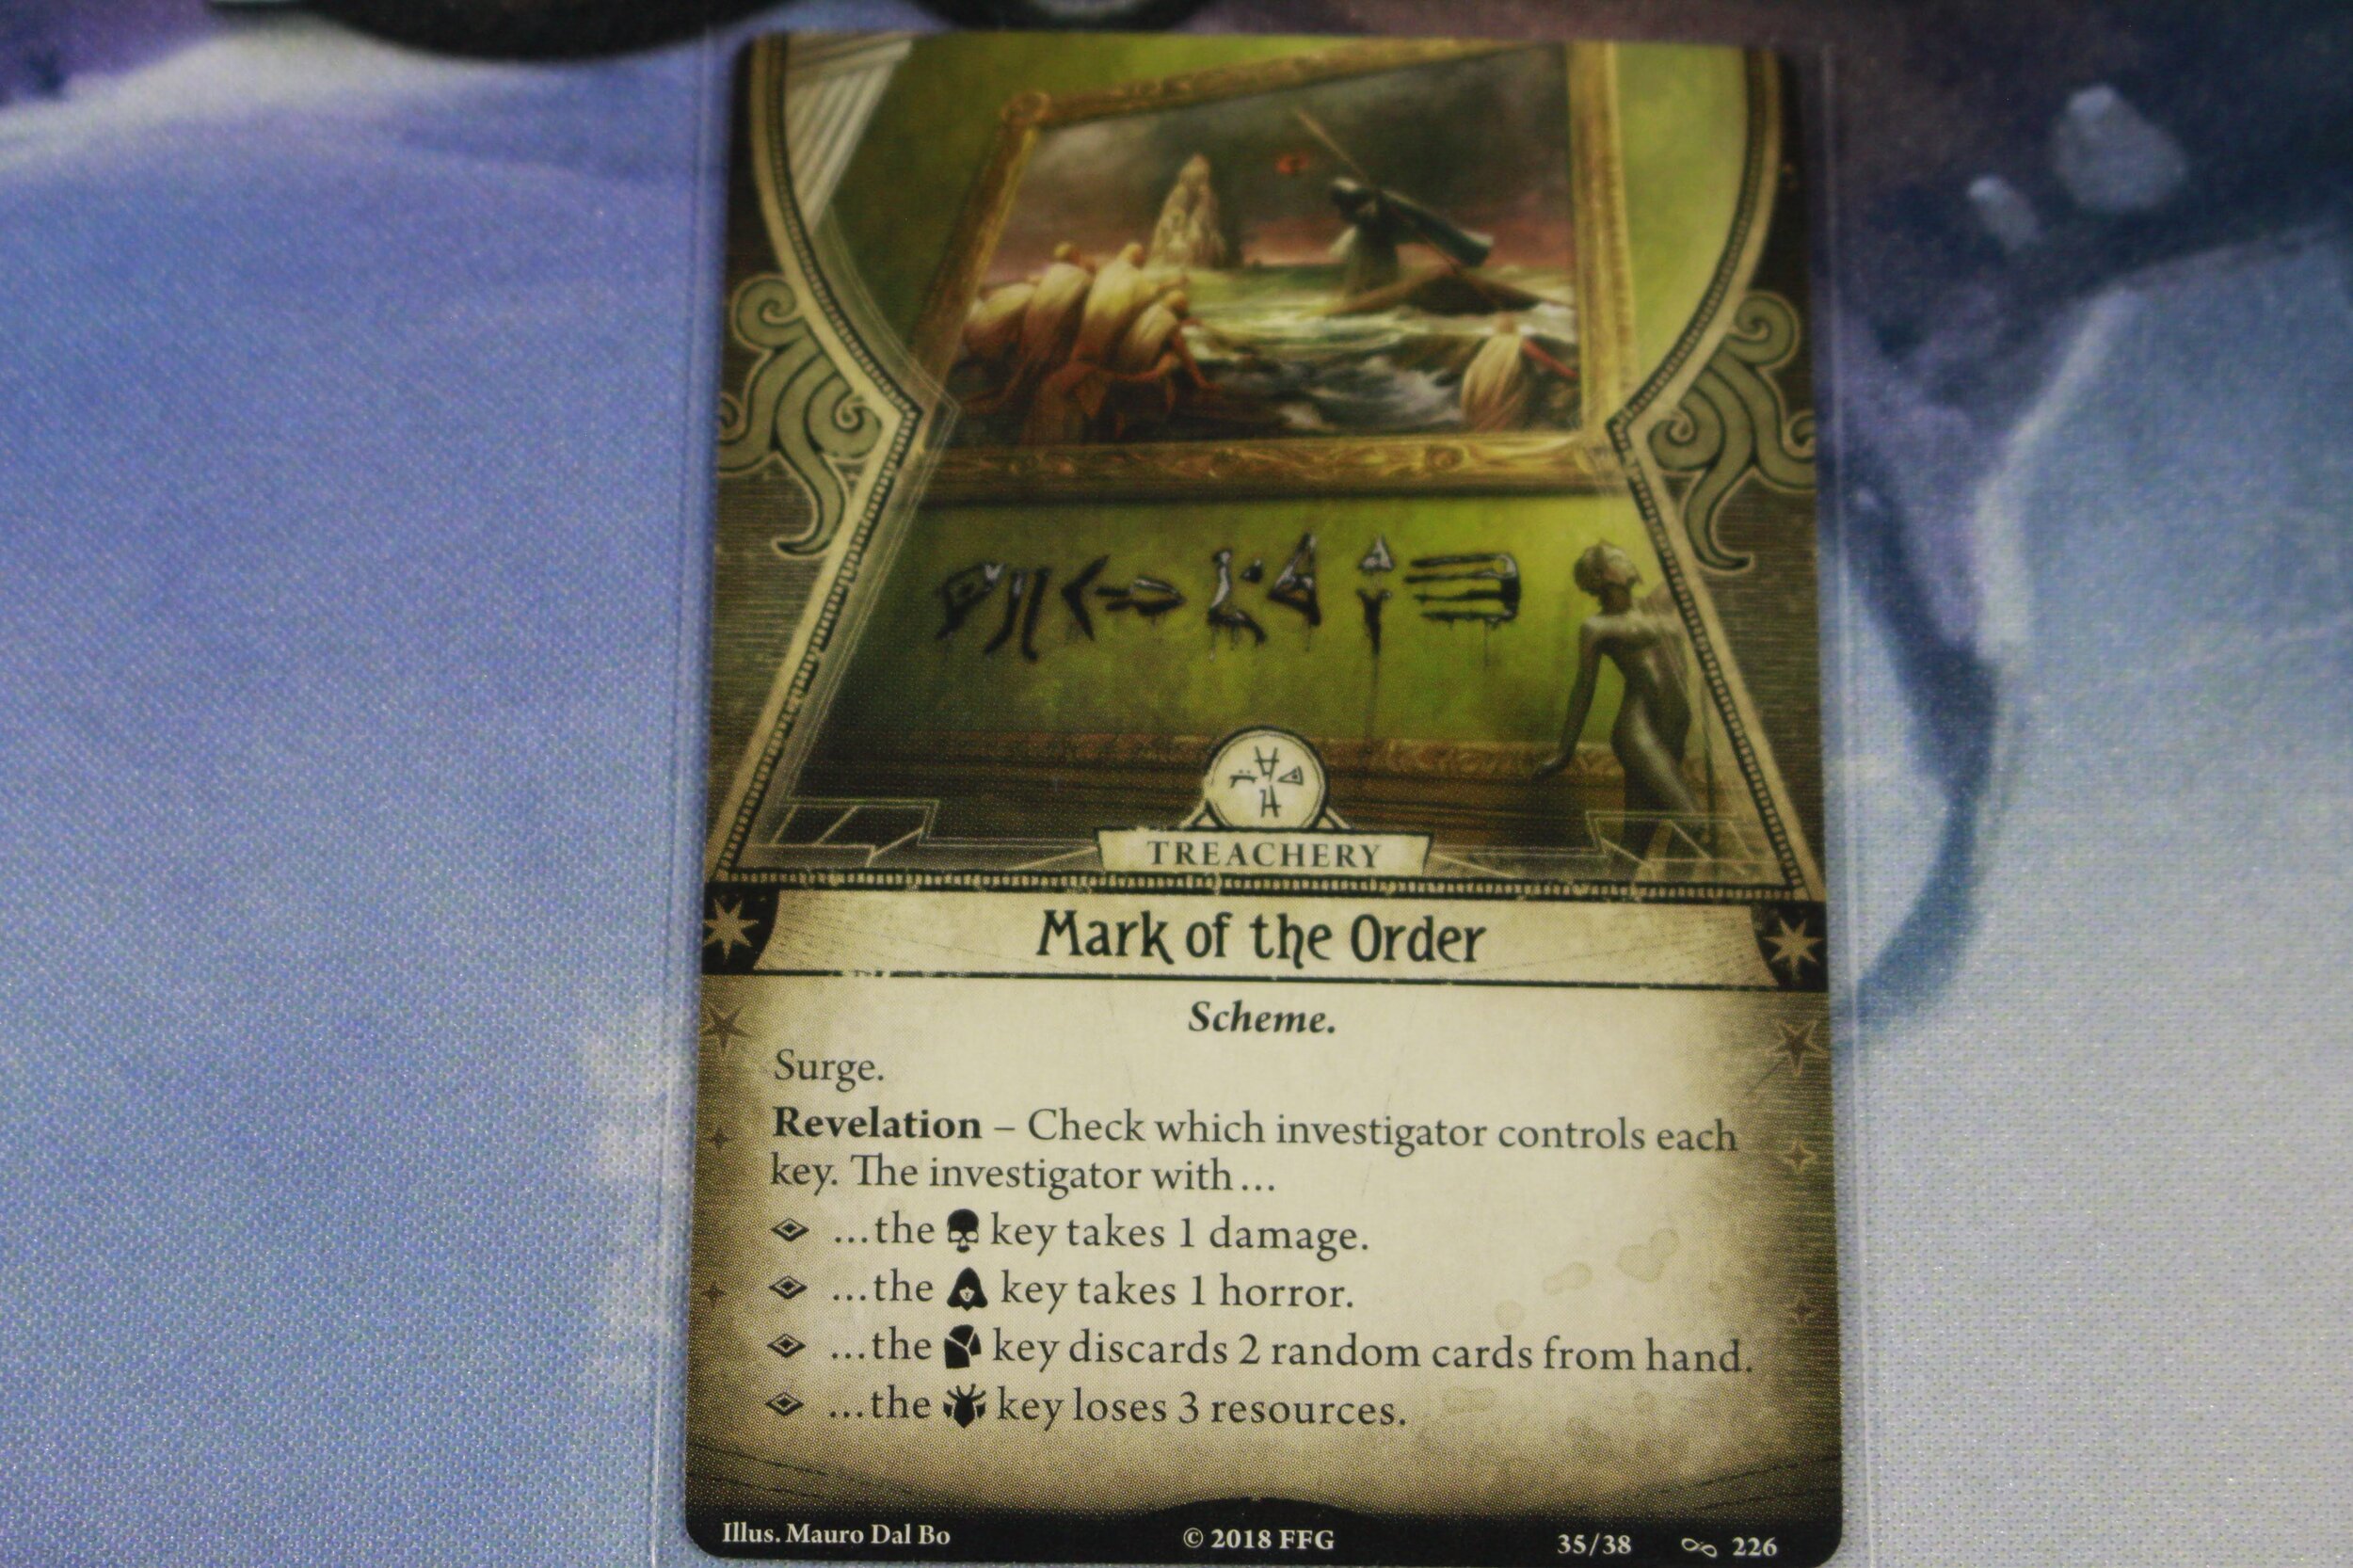
I, of course, had the rogue key, which meant that I took 1 horror. Well, due to my bad luck, I hadn’t gotten out the assets/allies I needed to soak horror. So I died. But wait! I forgot that when I killed an enemy I actually healed a horror! So I’m not actually dead! Ok, but this card has surge, so I need to draw another one. What was the second card?

…
A new challenger approaches
Going into attempt number 3, I had already made up my mind to play a mystic character. I chose Diana for a couple of reasons: 1) One of her deck builds was one of the highest rated builds on ArkhamDB, 2) we decided that it would be good for me to be able to get clues easier, and 3) after the first 2 attempts, I really wanted to be able to tell the scenario to screw off. Diana’s deck is great for that, as a lot of her abilities and cards are about cancelling or ignoring aspects of cards.
Having played through the scenario twice before, we quickly went to work gathering clues as quickly as possible. Since the keys randomize every time you play, we got lucky and the key we needed to access the final area did not get stuck with that August guy. We decided to ignore that part for now, until much later when we discovered we needed each key in order to successfully complete the scenario. Until that point, we just got enough clues/keys so that we could get to the “final” room and face Nathan Wick.

Nathan has a puzzle box that to me, looks like the ghost trap from Ghostbusters. Regardless, we knew that we wanted to have that puzzle box. In previous attempts, we had planned for Calvin to evade Nathan as it would have been easy to do so with his stats. Now that I no longer had Calvin, we had to resort to our two combat heavy characters, Mark and Tony, to take him out and take the puzzle box. Then, it was just a matter of gathering up a couple more clues and keys and we finally made it out of this scenario.
Moving Forward
I really liked playing Calvin and the cards he brought to the table, especially Miss Doyle and her kitties! However, for our current group, he was too swingy and always really close to dead in order to be useful. For the time being, I’ll stick with Diana, as in previous groups I always liked being the mystic class. Plus, given all the witches and groups in this scenario, it seems so thematic to have a former cultist in our group.
What did you think of this Battle Report? What scenario have you had the worst time trying to complete? Let me know in the comments, or you can hit me up on twitter or facebook. Also, did you know we have a Patreon? Go check it out if you want to join our slack community or get cool dice!